
The Message Input Bar
At the very bottom of the conversation view is the message input bar — where you compose and send messages to the customer. Along with the main text field, there are several icons to the right that give you access to additional tools.
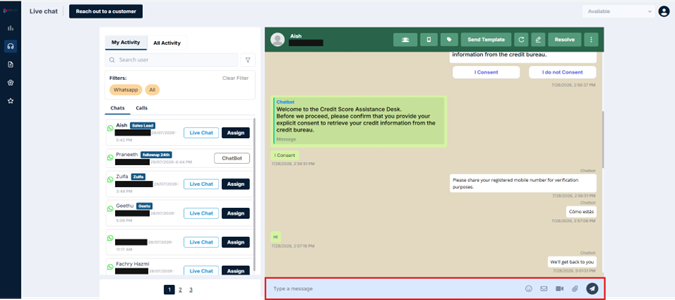
Typing and Sending a Message
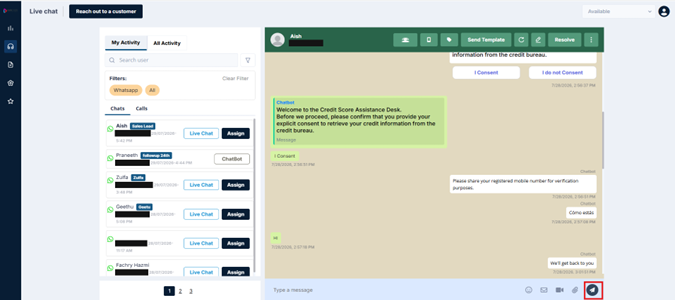
Click inside the Type a message field and start typing. When you're ready to send:
- Press Enter on your keyboard, or
- Click the Send button (the arrow icon at the far right of the input bar)
That's it — your message is delivered instantly.
Emoji Picker
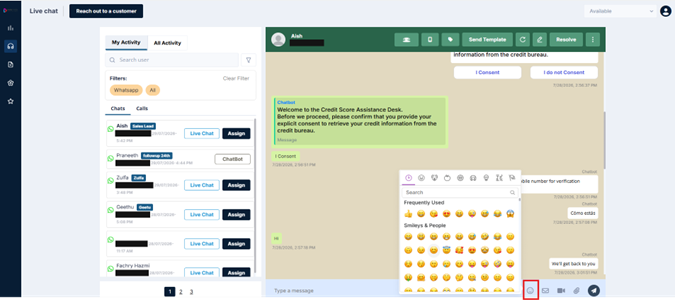
Click the emoji icon (a smiley face) on the left side of the input bar to open the emoji picker. Browse or search for the emoji you want and click it to insert it at your cursor position in the message field.
Quick Send Templates
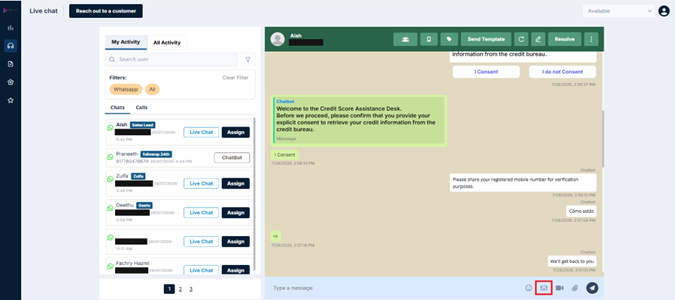
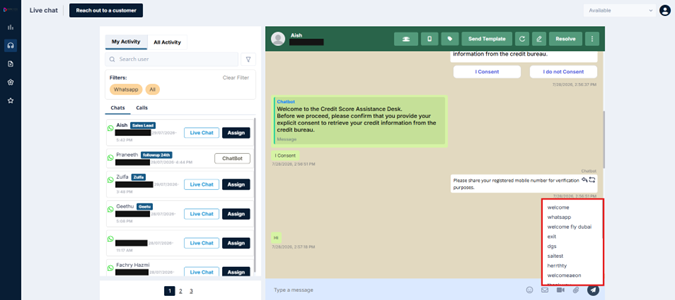
The Quick Send icon in the input bar gives you fast access to your team's pre-written message templates — short, ready-to-use responses that you can insert into the message field with a single click.
Types of Quick Send Templates
- Supervisor-configured templates — Set up by your admin or supervisor. You can view and use these but cannot edit or delete them
- Agent-created templates — Templates you've created yourself under the Quick Send module. You can view, use, edit, and delete your own templates
How to Use a Quick Send Template
-
Click the Quick Send icon in the input bar
-
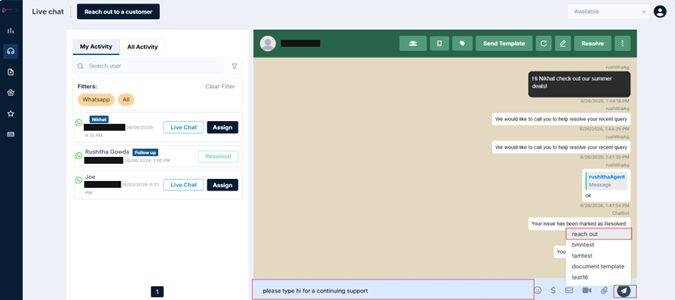
A list of available templates appears — browse or search
-
Click the template you want to use
-
The template text populates your message field — you can edit it before sending if needed
Quick Send saves time: If you find yourself typing the same responses repeatedly — greetings, standard FAQs, closing messages — add them as Quick Send templates. Even a 5-second saving per message adds up significantly across a full shift. You can create and manage your templates from the Quick Send module in the left navigation panel. Click here to read more on Send Template.
Video Call
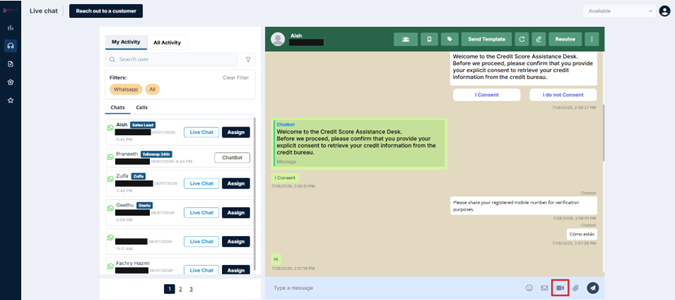
The Video Call icon in the input bar lets you initiate a video call session with the customer. When clicked, ROUBOT generates a video call link and presents it in a call window.
Starting a Video Call
-
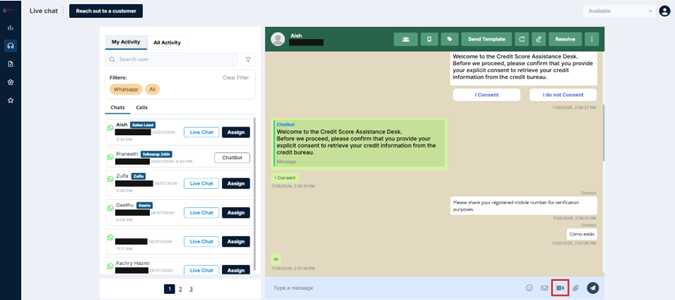
Click the Video Call icon
-
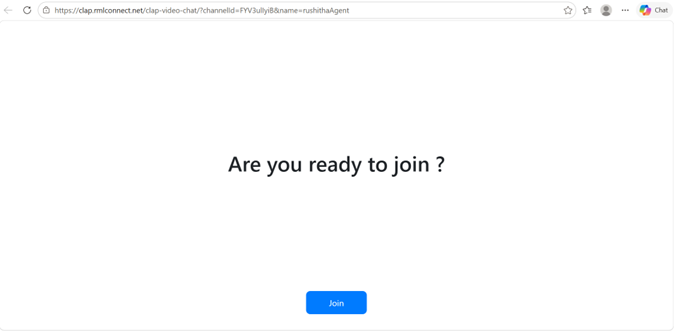
A prompt appears: "Are you ready to join?" — click Join
-
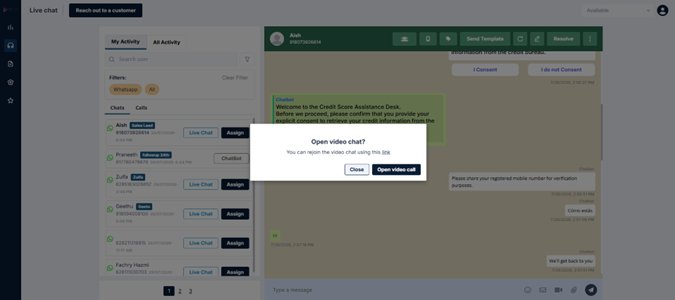
The video call window opens, with options for video and audio
-
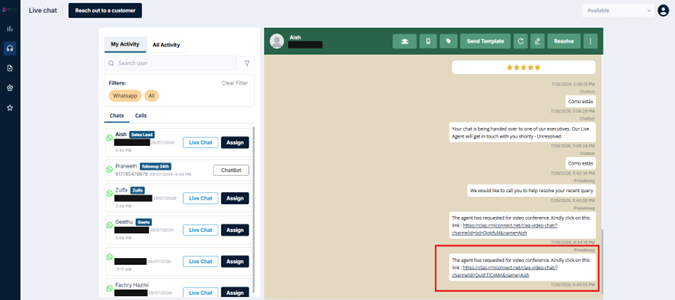
A call link is also generated that you can share with the customer over the chat, so they can join the same session
Use Case Example
One of the most practical uses for video calling is online consultation scenarios. For example, a healthcare provider might use this to connect a patient with a doctor: the agent starts the call, sends the link to both the patient and the doctor via WhatsApp, and once both have joined, the agent can exit the call — leaving them to consult privately.
Video calls are not currently the primary feature: For most agents, WhatsApp Voice Calling (covered above) will be the more commonly used calling feature. Video calling is available and functional, but it depends on your organization's configuration and use case. Check with your supervisor if you're unsure whether to use it.
Attachment
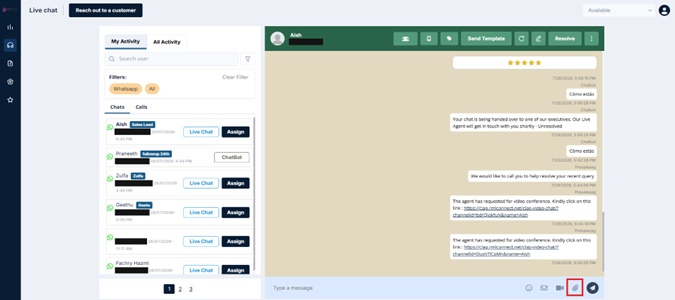
The attachment icon (a paperclip) lets you share files with the customer directly through the conversation. Supported file types include documents (such as PDFs), images, and more.
To Attach a File
-
Click the attachment icon
-
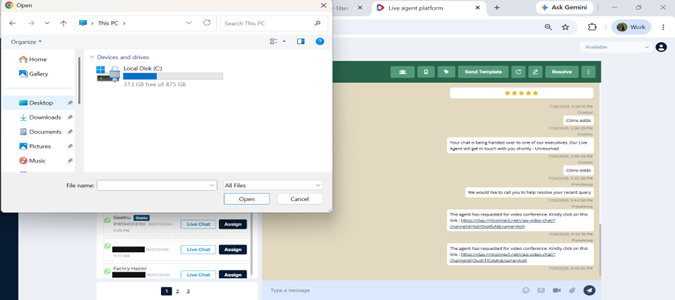
Select the file from your device
-
The file is uploaded and appears in the message thread once sent
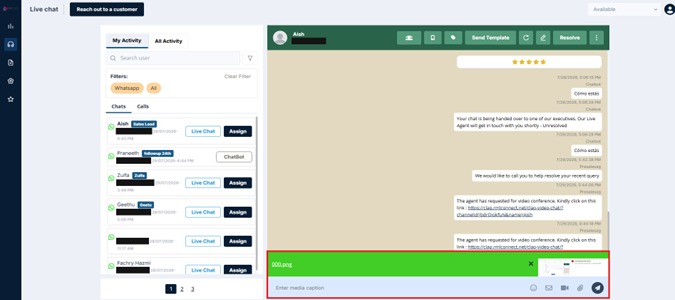
The customer will receive the file directly in their WhatsApp conversation.
Updated 3 months ago